Working with Data Files
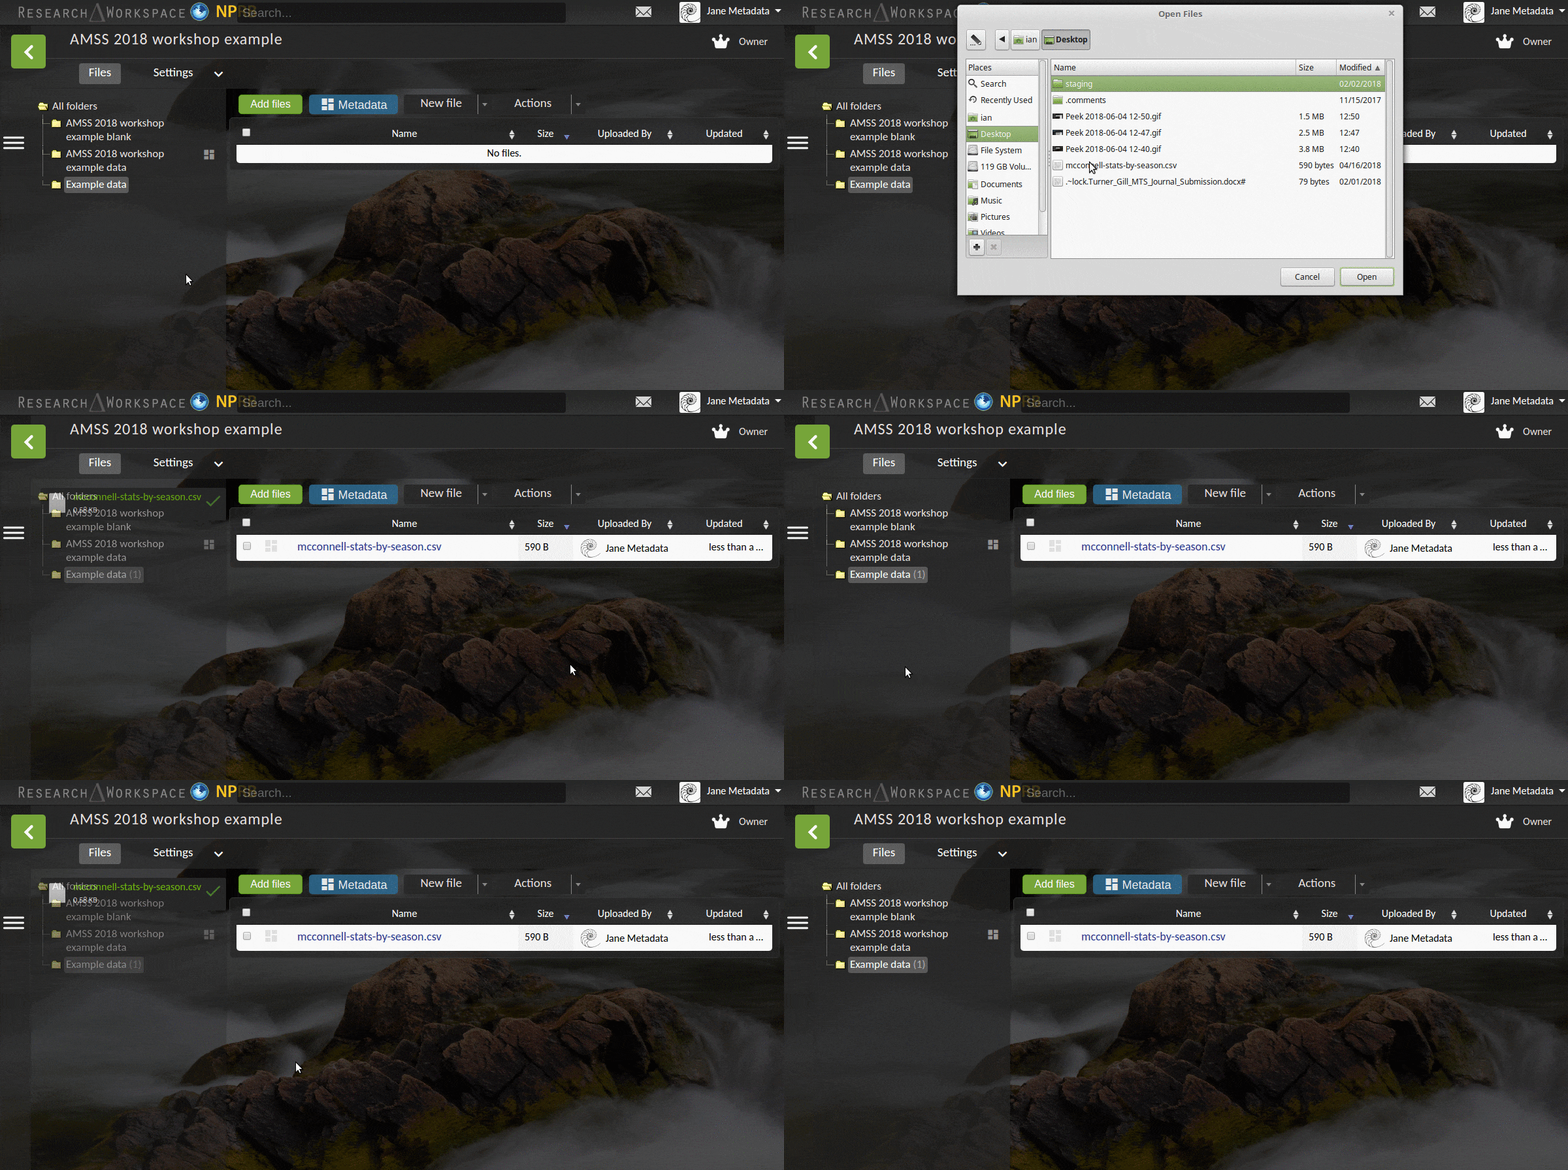
This tutorial will show you how to upload files to the Research Workspace.
For Workspace most users, uploading data files is one of the most important things to know how to do. Once uploaded, data files in your project can be viewed by other Workspace users (with permission), published to a data or archive, or visualized in a data portal.
Note
You can upload files of any type to the Workspace, which means you can use it is a platform to share trip reports and other documents with your colleagues.
Uploading Files

There are 2 ways to upload files to a project in the Workspace:
Note
The Workspace will automatically track versions of data files uploaded with the same name. For more information, see the File Versioning section.
For more detailed information please see the Managing Files page.
Viewing Text Files

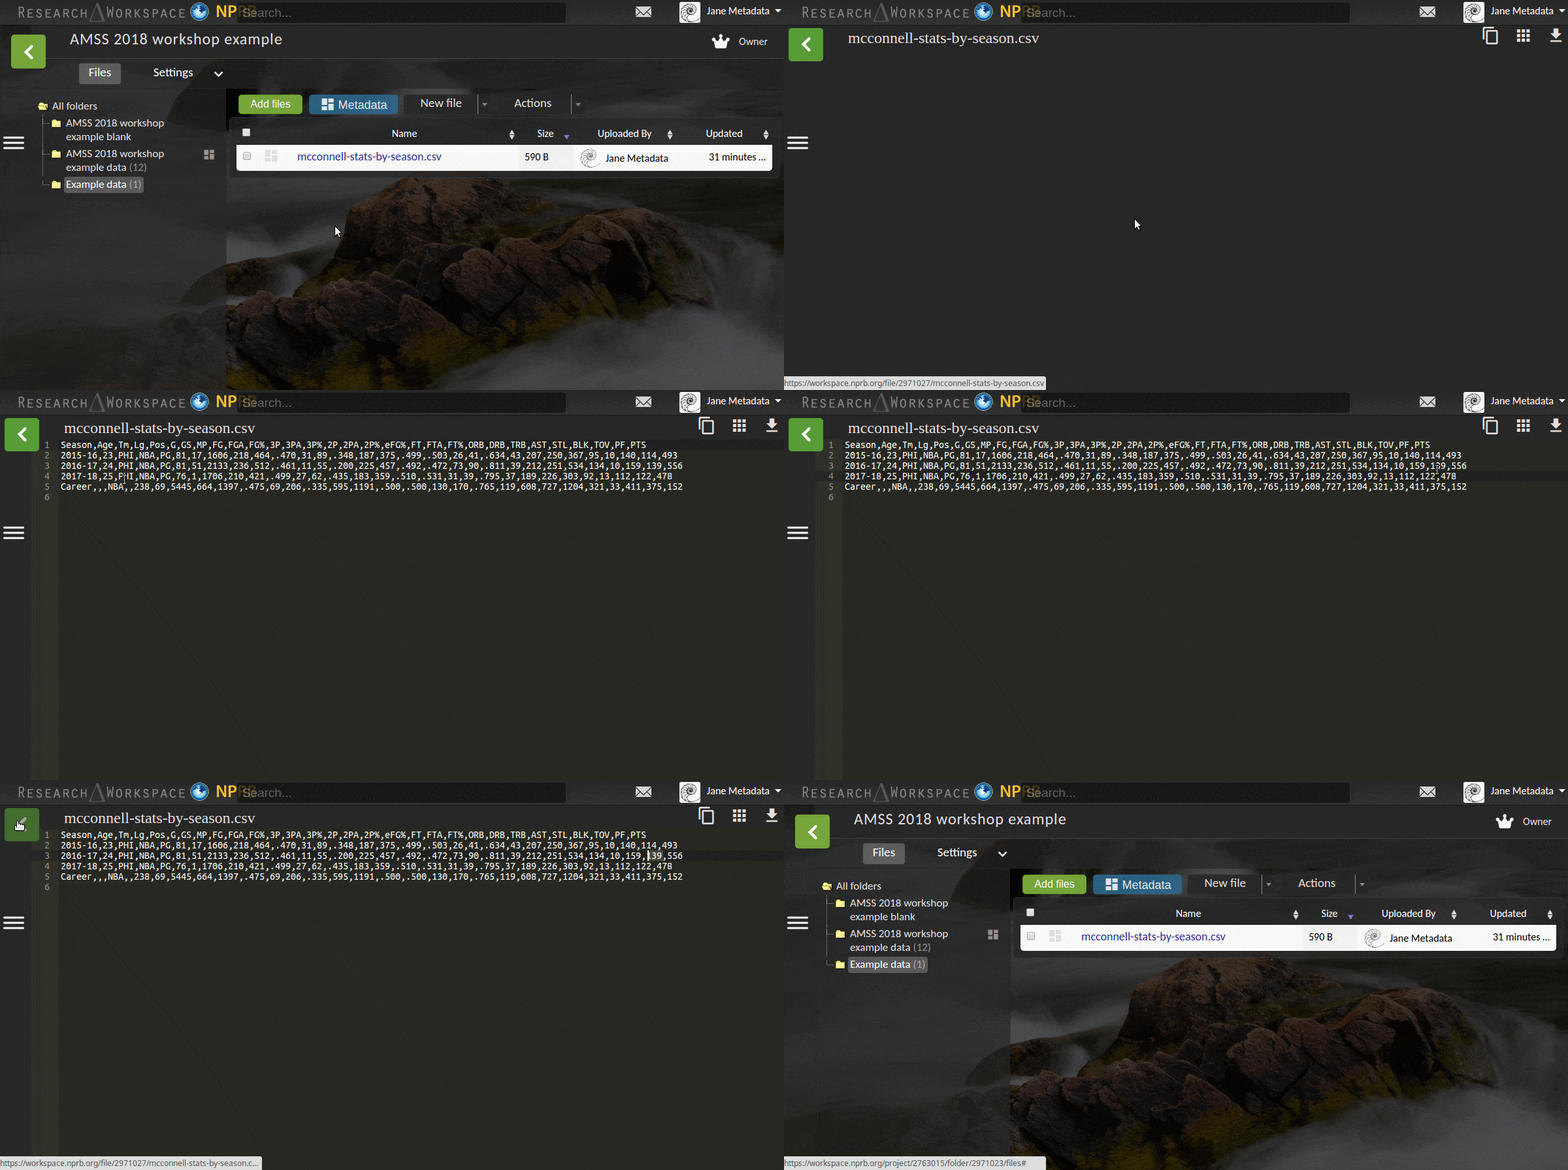
Plain-text file formats, such as TXT and CSV, can be viewed and edited directly within the Workspace by clicking on the file’s name.
Tip
The CSV (comma-separated value) format is the preferred format for archiving most tabular data files, rather than proprietary formats such as Microsoft Excel. Also, the Workspace’s metadata editor can read the column headers of CSV files and insert them as attributes in your metadata record automatically, which can save a lot of time. For more information, see the Adding Data Table Attributes section.
For more detailed information please see the Managing Files page.
Moving a File

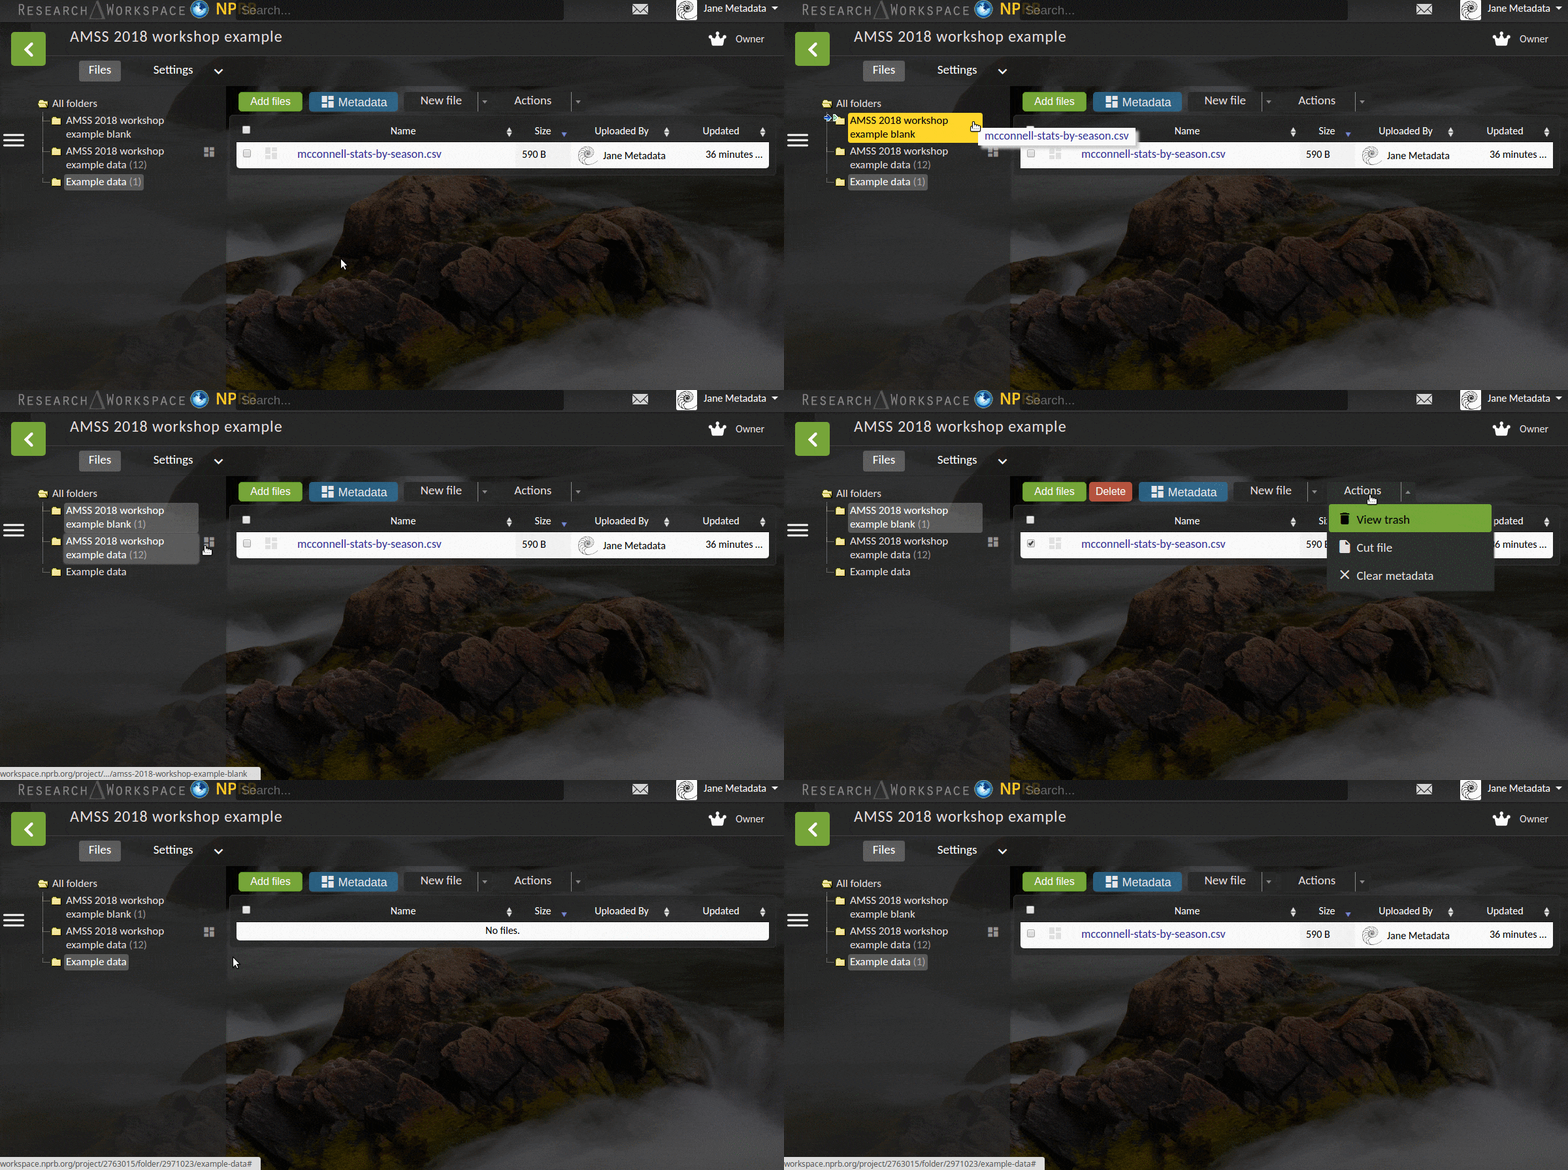
There are 2 ways to move files of any type between folders within the Workspace:
- Clicking and dragging the file to the desired folder.
Note
Selecting and cutting a file allows you to move files bewteen different projects within the Workspace.
For more detailed information please see the Managing Files page.