Finding Information
Search Bar
The Search... bar at the very top of the window allows you to search for files or people within your projects, campaigns, or organizations.
Search for Files or People
To search for files or people, follow these steps:
- Type your search terms into the
Search...bar. - The list will dynamically change as input is typed; matching contact names will be listed first, followed by matching file names.
- Select the person you’re looking for, the file name if you’d like to open it, or the project or folder names if you’d like to see the file in context.
Notifications
The envelope icon ![]() at the top right of the screen displays your notifications. Notifications appear when someone else invites you to a project, campaign, or organization. To accept an invitation, follow these steps:
at the top right of the screen displays your notifications. Notifications appear when someone else invites you to a project, campaign, or organization. To accept an invitation, follow these steps:
- Click on the notification icon near the top right corner of the window, just to the left of your profile picture.
- Select the green checkmark to accept the invitation.
- The project, campaign, or organization will now be visible to you.
Filter Projects
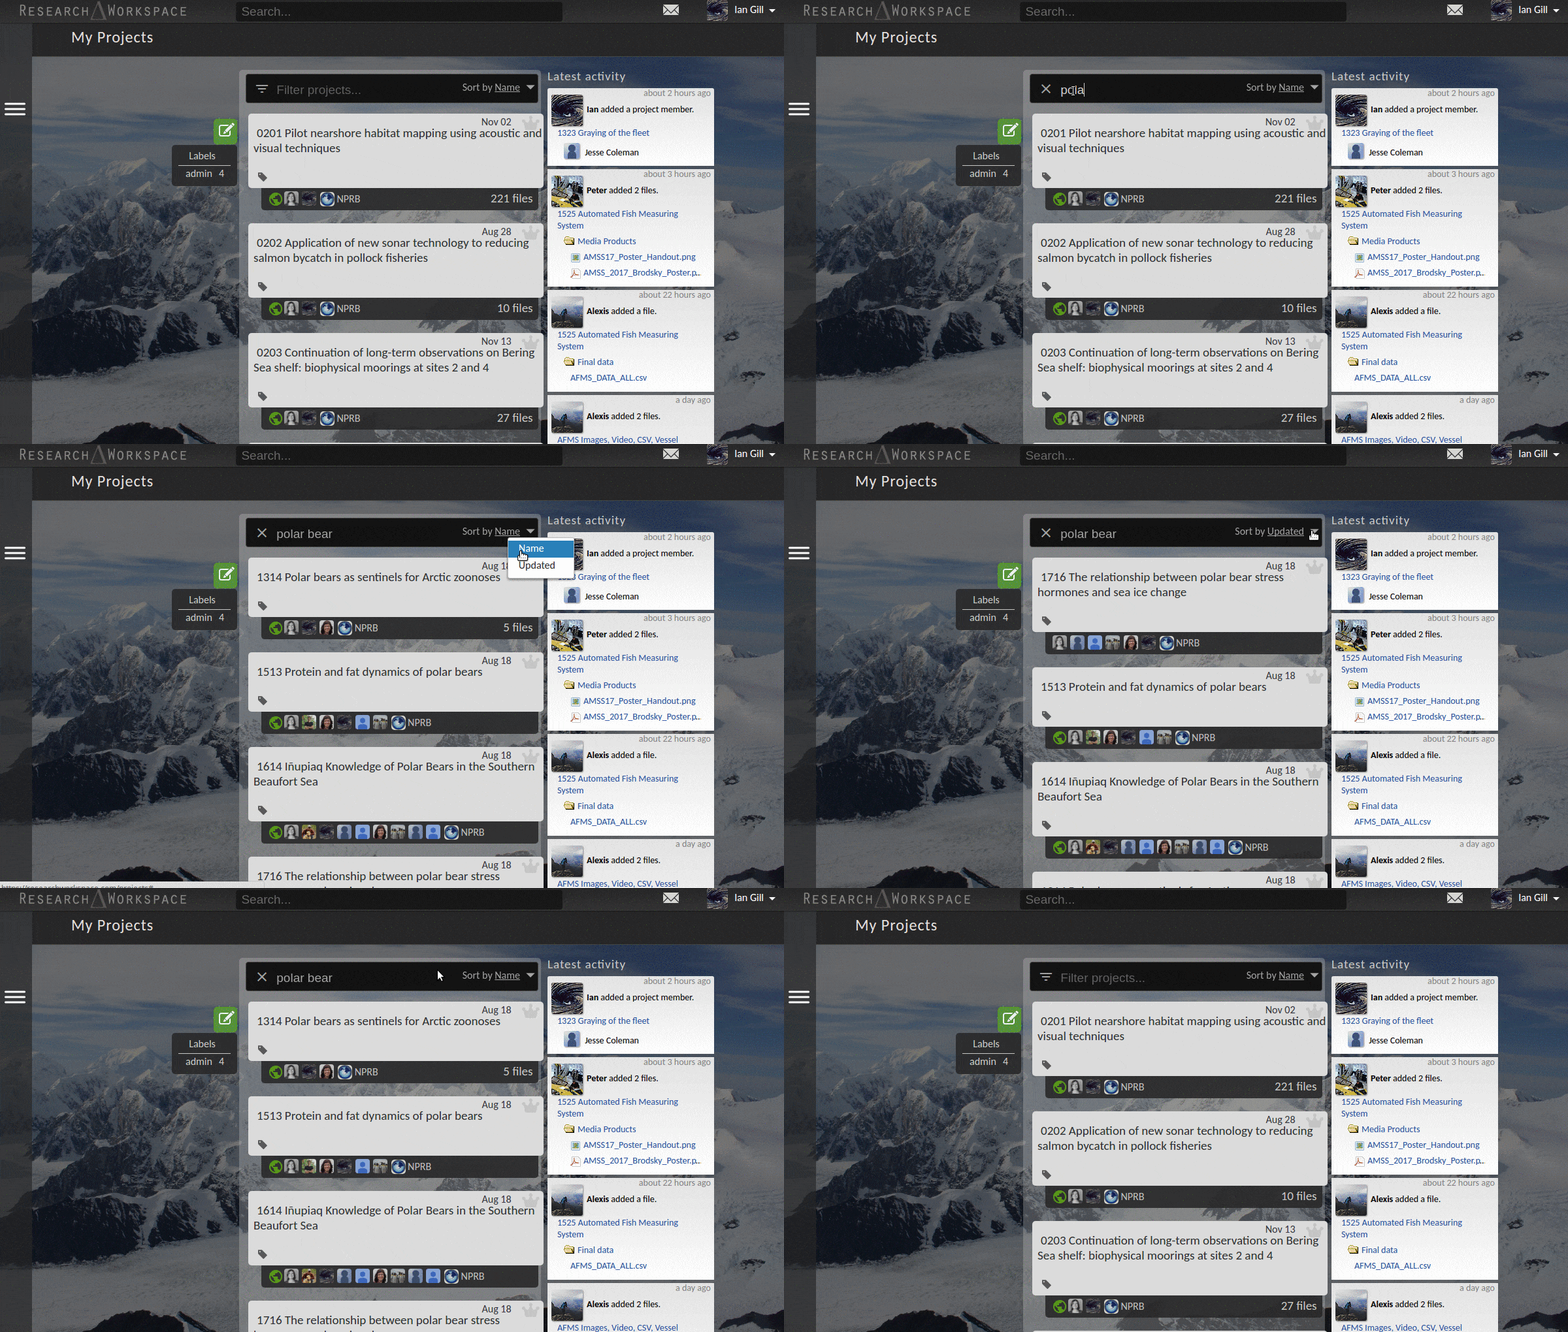
The project filter bar directly above your project list allows you to find projects by narrowing the project list based on what you type. To filter projects, type a term in the search box as illustrated in the GIF below. Note that filtering works across organizations and campaigns. To narrow your filtered results to projects from a particular campaign or organization, first select it from feed icon ![]() on the left-hand side of the window, then type the term to filter by.
on the left-hand side of the window, then type the term to filter by.
If your filter returns many results, it may help to sort the results. You can sort your results by name or by date updated, in ascending or descending order. Select Name or Updated from the Sort by dropdown on the right-hand side of the filter bar. Click the gray arrow to change the sort order.
Tip
Projects will remain filtered by the search term until turned off. To remove search terms click on the X next to individual search terms, or remove them all by clicking on the X on the right-hand side of the filter bar.
Note
Naming your projects in logical and consistent ways will make them easier to find. For more information on project naming and organization, please see Axiom Data Science’s Best Practices for Data Management.

Project Labels
Assigning labels helps group related projects together. Unlike keywords and taxonomy, labels are not formal metadata. Rather, they commonly have informal, categorical names that identify a research theme, project year, cruise name, etc. Groups of projects can be quickly located by clicking on the labels in the sidebar to the left of the project list.
For more information on how to use labels to help organize your projects, please see Axiom Data Science’s Best Practices for Data Management.
Note
The labels that you assign to a project are unique and do not transfer to campaigns or organizations when you share your project. Labels are intentionally designed to be dynamic among projects, campaigns, and organizations, as each may have different labeling conventions.
Create a New Label
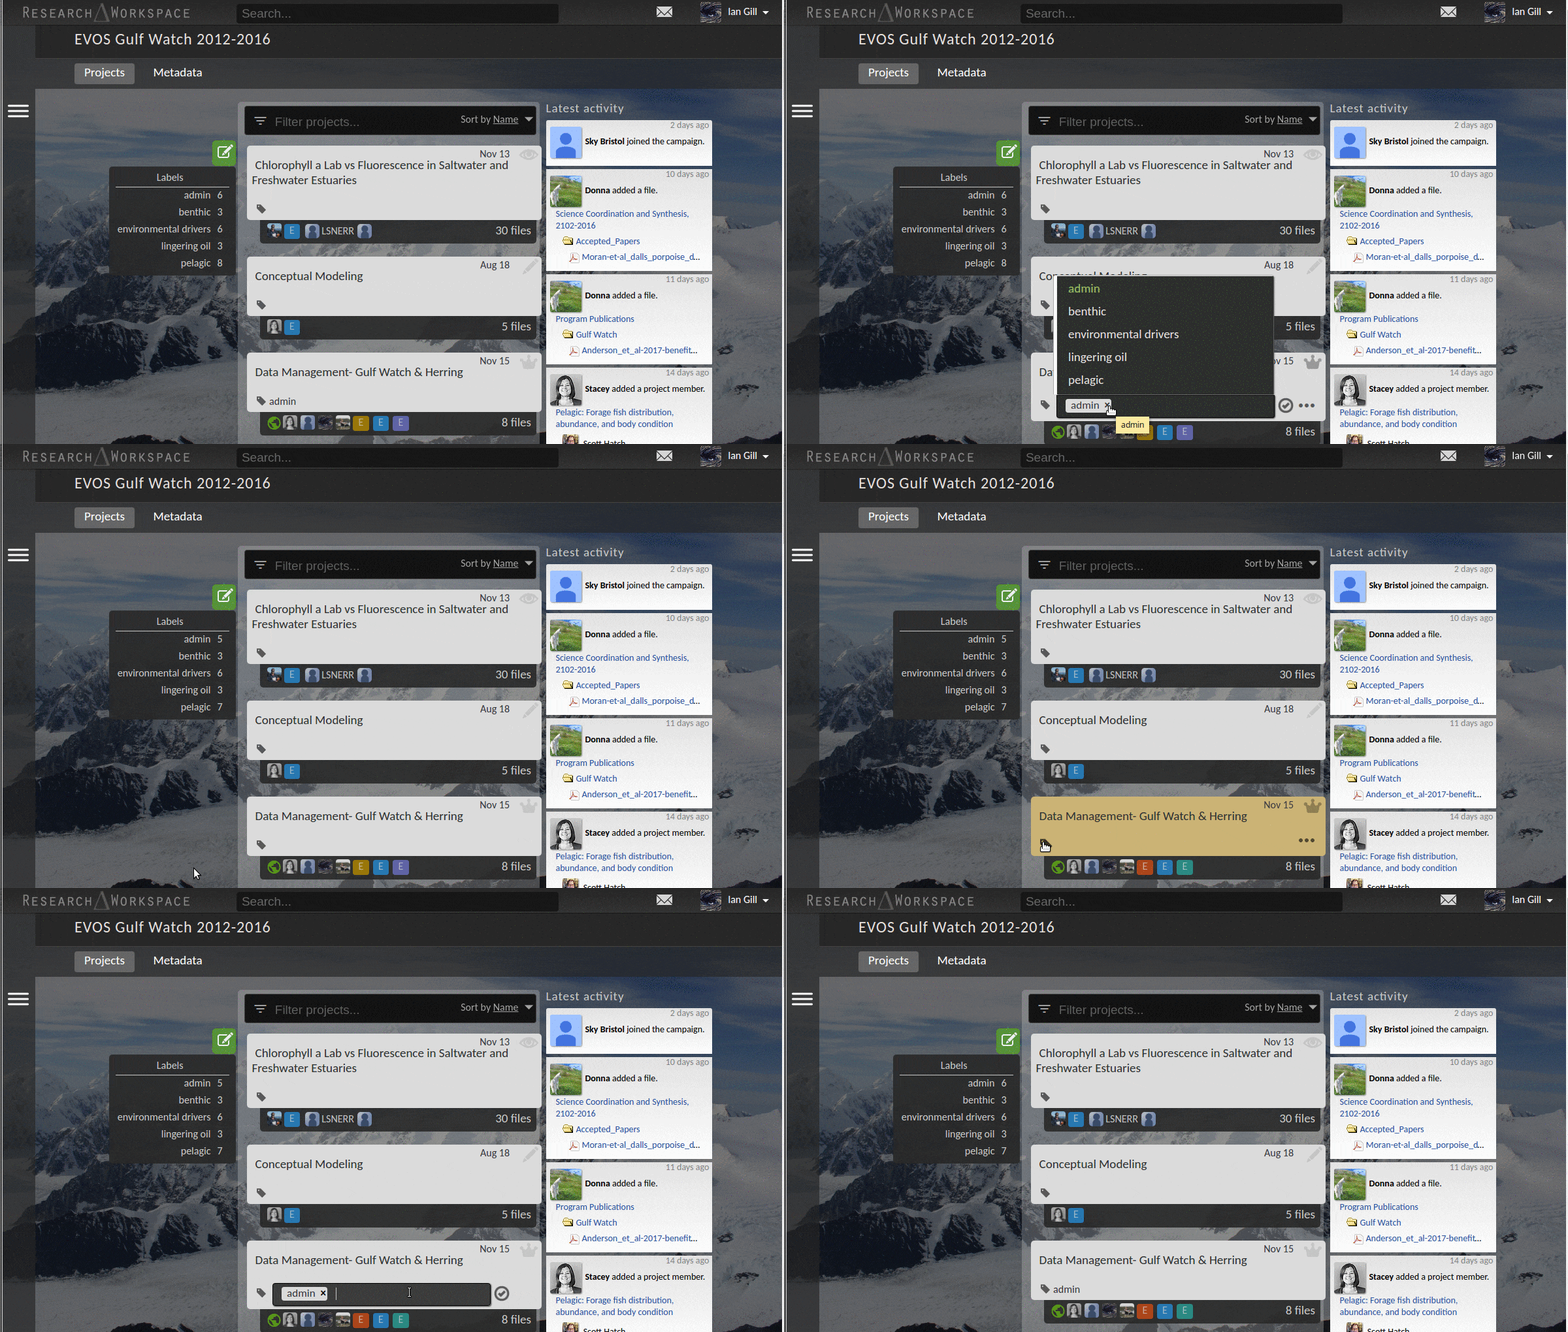
To create a new label, follow these steps:
- Click the label icon
 in the lower left-hand corner of a project entry.
 - Enter a new label name in the text box.
- Select the highlighted text from the dropdown list.
- Click the checkmark icon
 to save.
Repeat these steps to add more than one project label.

Add a Label
To add a label, follow these steps:
Remove a Label
To remove a label, follow these steps: